What’s up guys. Carlton Stith here. Thanks for joining me as I discuss my Photoshop organization tips for web developers.
Adobe Photoshop has been the go to editor of choice for web designers for a while.
Responsive web design has changed the game for a lot of us when creating web mock-ups. Some of us like to create mock-ups in Photoshop while others prefer to jump straight into the browser. If you still get a kick out of designing in Photoshop or you have clients that insist on having a PSD of their site, then this article is for you. I’m going give you 10 ways to organize your PSD’s for faster web development.
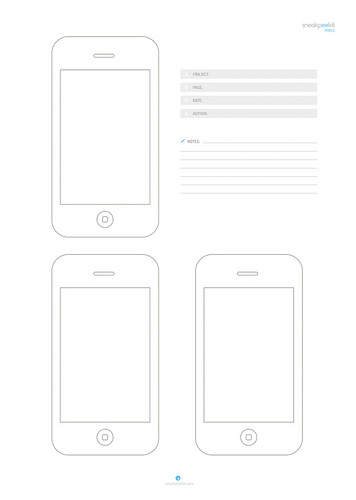
Using a PSD template can be a life-saver.
Some people prefer to design in the browser for rapid responsive web prototype development.
When you are creating a mockup in Photoshop, it’s very important that you organize your individual files. This can save you a lot of time when it comes down to coding the page in your text editor.
Here are 10 tips to organize your PSD
1. Group your layer files into folders. Be as semantic as possible when assigning names to your layers.
2. Name your layers. There is nothing worse than looking at a PSD and trying to decipher the main header from the footer copy.
3. Color code your layers. To do this, right click over the eye icon in your layer. This will pull up the layer field.
4. Be as semantic as possible when naming your PSD. Final.psd and final-last.psd doesn’t help either of us.
5. Use a grid when you’re creating a mockup. There are more than a handful of them out there such as the 960 Grid by @nathansmith, Twitter Bootstrap and Skeleton.
6. Go easy on the effects. Less is more. Avoid over-editing your file and know when to stop.
7. Use a web font and make sure the development files are available for code. If the font that the client wants is licensed, make sure he/she is aware.
8. If you can tell there’s a drop shadow, you probably used used too much.
9. Proofread your copy. Have someone else re-proofread your copy. There’s nothing worse than a web professional that doesn’t check their own work.
10. Conserve the size of your file and use Save for Web when you’re ready to ship.
Well, that’s about all that I have for now. If you want to learn more, follow me on Twitter and hit me up on there. If you want to learn more about me, visit this page and contact me for more. Until next time folks.