Working from the command line is pretty awesome and from what I’m hearing, it’s an essential skill for any web developer. It is also another way to stay up to date with web technology. I’m still learning how to use Version Control but I thought I would write this post as a helper tool for anyone that’s learning how to use version control.

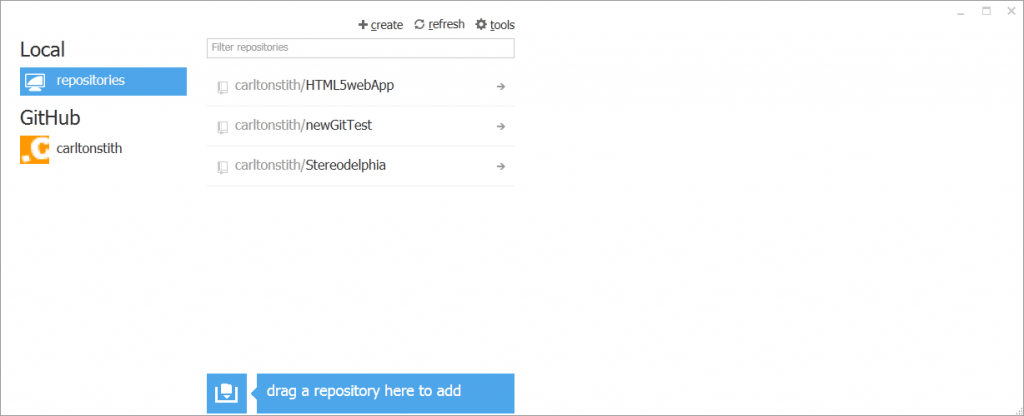
The GitHub app is a great gateway tool for anyone looking to start using the social coding site.
What is Version Control?
I could tell you what Version Control is but I think this video by @matthewmccull from GitHub explains it much better than I ever could.
When I first started to use Git, I didn’t use the command line at all and it wasn’t fulfilling, let me tell you. I also know that companies might frown upon a developer that’s using a GUI to collaborate on GitHub. When I first became interested in learning how to use GitHub, I downloaded the GitHub for Windows app. This is a GUI and it’s great for anyone that wants to collaborate but aren’t willing to learn any commands (really, there aren’t that many commands to begin with). Once I started using this, I felt something was missing. If you’re using the GitHub for Windows or Mac application, you might feel the same way.
This post isn’t about the GitHub for Windows or Mac applications, it’s about installing and using Git from the command line or terminal.
So with that being said, we are going to create our first repository using Git Bash (a command line tool that comes with the Git download).
Are you ready to use Git? Let’s git started!
Get it?…let’s git started!?…err, no.
Make Git Yours
1. First create an account on GitHub.

In order to start using GitHub, you have to create an account.
To get started you will need a GitHub account. Create an account and create your first repository. We are going to call this repository ‘MyFirstProject’. While we’re here, click the box that will create the ‘README.md’ file also.
2. Second, install Git on your machine.

Git won’t come installed on your machine. You have to download it from the official site.
Git is not something that already exists on your computer. If you want to use Git, you first have to install it on your machine. I went to git-scm website and clicked the download link. This way you should have the most recent version of Git on your machine. We are going to use Git Bash since we want to become comfortable in the Terminal.
3. Open Git Bash and configure your user account on your local machine. You will have to type the following lines to configure:
git config –global user.name 'PutYourNameHere'
git config –global user.email 'PutYour@Email.Here'
Make sure you put your name and email in parentheses. The email that you use should be the same email that you used when you created your account on GitHub. This is VERY important. That way anything you work on will be associated back to you.
Now that we have those things squared away, we can start with the fun stuff and create our very first repository. Yipeee!
Create a Repository
Each command starts with ‘$’. You should not try to erase this. The ‘$’ is a default command in the Terminal and precedes the commands that we’re going to type.
From my very basic use, there are only a handful of commands that are used in git. These commands are:
(a) git init, git clone and git config are used to set up a Git repository.
(b) git add and git commit are used to record snapshots.
(c) git status and git log are used to inspect a Git repository.
1. You should be in the root folder when opening the command line. I’m using Git Bash. So I will see this: ~ (master). We have to now create a new repository for our project. First type: mkdir and the name of your new repo. So for example, my repository will be called MyFirstProject so I will type into the command line: mkdir MyFirstProject.
2. Next, you have to go into this new repo that you’ve created. So to do this, type: cd MyFirstProject. The cd part is short for change directory. Now you should be inside of your new repository. You should now see something like this in Git Bash: ~/MyFirstProject (master)
3. Next type: git init What this does is this initializes your repository.
4. Next type: git add . and what this does is this stages your repo for GitHub.
5. Next just type git status to get a briefing on what is currently going on with your local copy of your repository. You should get a list of files that are available and have not yet been committed. Each file should begin with new file: because they have not been pushed to your repository yet. That’s what we’re going to do next.
6. Now that we’ve gotten the status, we now want to tell git to create these files and make them available locally. Type: git commit -m ‘first commit’ and we should now have a copy of our files available.
7. If you created a README.md file in GitHub when you created your repo, we have to pull this down to our local machine first. Type the following: git pull git@github.com:yournamehere/MyFirstProject.git master. You will have to clone your project and replace the name and URL with your own for the URL in parentheses. This stuff will already be done for you when you copy the SSH clone URL.
8. Once this is done, you have to push your files to your GitHub repo by typing the following: git push git@github.com:yournamehere/MyFirstProject.git master. Again, replace what’s in parentheses here with the cloned URL of your own repo.
What’s Next
It’s time to celebrate, that’s what.
Once this is done, it’s pretty much smooth sailing for us. But let’s go a step further. Create a new file in your text editor and name it index.html. We’re going to save it in the same folder as the local copy of of repository. Create a list on your new page and save it to the MyFirstProject file. In Git Bash, type git status. See how this works now? The file that you just created should now be highlighted in red as a new file.
I made some changes, now what…
1. Type the following: git add index.html
2. Now we’re going to type: git commit -m ‘created the index.html page’
3. Next, type: git push (your SSH key here) master
4. Now, type: git status (you should get the message, On master branch nothing to commit, working directory clean
Connecting to GitHub is done via an SSH key. To learn more about generating an SSH key visit this link.
I hope this helped eliminate any confusion that you guys may have about Git and version control. If you have any questions, feel free to drop me a line and we can walk through any problems that you might have together. You can find and follow me on GitHub and follow me on Twitter too. Until next time…
